Teltonika Networks Questions & Answers (FAQs)
Your one-stop destination for all Teltonika-related information. Explore our comprehensive FAQ page for insights into Teltonika Networks. Here, you'll find answers to common queries, technical support, and practical applications of Teltonika devices in various industries.
Updating the firmware Over-The-Air (OTA) for Teltonika Networks Routers is a straightforward process. Follow these steps to ensure a smooth update:
Ensure your router is connected to the internet.
Back up your current configuration (as a precaution)
To backup your router config, go to System > Maintenance > Backup > Backup Configuration > Backup Archive > Download. Then save it to a safe location in your PC/Laptop folders. See the screenshot below for reference.
When done, you can proceed to the firmware update part:
In the admin dashboard (advance view enabled), go to System > Firmware > Update Firmware Page. Then choose Server from the Update From field. Choose Device Firmware under Firmware Type. Then under Keep Settings field, toggle to On, then finally click on the Update button. See the screenshot below for reference.
The router will begin updating the firmware. This may take several minutes, during which the router will reboot.
Verify the Update:
- Once the router has restarted, log back into the WebUI.
- Check the firmware version to confirm that the update was successful.
Restore Configuration (if needed):
If you backed up your configuration before the update, restore it now to return to your previous settings.
Follow the instructions carefully to avoid any interruptions during the update process. If you encounter any issues, consult the Teltonika Networks support resources or reach out to us for assistance.
Enjoy the new features and improvements after successfully updating your Teltonika Networks Router’s firmware OTA!
Yes, there are multiple ways to trigger the relay output remotely:
- While in the main page of the RMS website you need to go to Management
->Devices. - Click the checkbox beside the device that you want to trigger the relay of.
- Above the devices window there should appear new options, and one of them should be “Configuration”, once you hover of it you should see “Device configuration” click on it.
- Once you’re redirected to a new page, on the left-hand side scroll down to Services
->Input/Output->I/O Juggler. - From there you can either create, update, or delete the configurations as you wish.
Another way would be to generate a WebUI link via RMS which you would do like so:
- While in the main page of the RMS website you need to go to Management
->Devices On the left-hand side of the device that you want to trigger the relay of you should see these icons (see screenshot below).
Reference Image: Select the second one, which reads “Device WebUI”.. - Click on “Connect” or “Generate” and then on the generated link to access the WebUI of the device.
Once you log onto the devices WebUI, on the left-hand side head to Services
->Input/Output->Status and from here you can change the state of the relay from Open to Closed.You can read more about this in Teltonika Networks’ Wiki
Another way would be to use the Task Manager in RMS:
- While in the main page of the RMS website you need to go to Management
->Task Manager - Press on “+ADD” and create a new group name as well as the task name
- Our first task that we’re creating will be to change the relay status to “Closed”, so we would need to enter the command:
ubus call ioman.relay.relay0 update '{"state":"closed"}' - Afterwards, we’re going to add a new task on the right-hand side where we can see a little
+sign besides theTASKStext. In the second task, we’re going to want to change the state to “open”, so we would enter this to the command window:
ubus call ioman.relay.relay0 update '{"state":"open"}'Of course, you can switch these around, and make task 1 make the state
Openif you wish to do so. You can read more about these commands for the RUT956 here,and for the RUT906 here.A handy wiki article on the configuration and overall explanation for the Task Manager function can be found here.
You Can Check On Events Logs
If using the RMS Cloud Platform:
Go to your target router in RMS. Then Actions > Export Event Logs. See the screenshot below:
If using the Router Admin WebUI:
Go to System > Maintenance > Events Log > Choose which Logs or All. See the Screenshot below:
Keep Your Network Connections Seamless with Teltonika Router Event Logs
When it comes to maintaining a reliable network, the Teltonika Router is your vigilant sentinel. But even the most robust systems can encounter hiccups, particularly with client device disconnections. That’s where the power of Event Logs becomes indispensable.
Why Check Event Logs?
- Trace the Trail: Event Logs are the breadcrumbs that lead you back to the root of the problem. They provide a chronological record of events, helping you pinpoint when disconnections occur.
- Identify Patterns: By analyzing logs, you can detect patterns and recurring issues, which are crucial for diagnosing intermittent problems that are not immediately apparent.
- Error Insights: Logs contain error codes and messages that offer insights into the nature of the disconnection, guiding you towards a targeted solution.
- Performance Metrics: Monitor your router’s performance over time. Sudden changes in activity could signal underlying issues affecting connectivity.
- Firmware Checks: Ensure your firmware is up-to-date. Logs can reveal if outdated firmware is causing disconnections.
Proactive Problem-Solving
Regularly reviewing your Teltonika Router’s Event Logs isn’t just about fixing current issues; it’s about preempting future ones. Stay one step ahead by making log checks a part of your routine maintenance. With this proactive approach, you’ll ensure that your network remains as uninterrupted and reliable as possible, keeping your clients connected and content.
Remember, consistent monitoring and analysis of Event Logs are key to a stable and efficient network. Keep your connections strong with Teltonika.
A Failed file downloads are a common frustration that can be caused by network interruptions, especially when relying on a single internet connection. WAN Bonding addresses this issue by combining multiple connections into one stable and high-capacity link. This not only prevents interruptions if one connection fails but also maintains the continuity of IP addresses, which is crucial for uninterrupted downloads. With WAN Bonding, the download process is seamless, and the risk of failed downloads due to IP address changes is virtually eliminated, ensuring your files always arrive intact and on time.
Expanded FAQs: Delving Deeper into WAN Bonding:
What is WAN Bonding and how does it differ from Dual-WAN failover?
WAN Bonding is a technology that merges multiple internet connections into a single, more robust connection. Unlike Dual-WAN failover, which provides a backup connection that remains idle until the primary fails, WAN Bonding utilizes all connections simultaneously. This ensures continuous data flow and maintains the IP address of the WAN bonding server, even if one of the connections drops, providing a seamless online experience.
What happens to ongoing downloads when WAN failover is activated?
During a WAN failover event, the active connection switches from the primary to the backup. This switch can result in a change of the external IP address. Since file downloads are often tied to the IP address initiated at the start of the download, a change in IP address can disrupt the connection to the download server, leading to a failed download.
How does WAN Bonding benefit file downloads?
The advantage of WAN Bonding for file downloads is its ability to prevent interruptions. Even if one of the WAN links fails, the download process continues seamlessly, thanks to the maintained IP address continuity. This contrasts with Dual-WAN failover, where the file download would be interrupted during the auto-switch from the failed main connection to the backup, potentially leading to incomplete or corrupted files.
Why does a change in IP address lead to a failed download?
A change in IP address during a download can cause the server to terminate the session, as it may appear as if a different user is attempting to continue the download. This security measure can result in the download failing, which is a common issue with Dual-WAN failover but not with WAN Bonding.
Can WAN Bonding enhance VoIP call quality?
Yes, WAN Bonding significantly enhances VoIP call quality by distributing traffic across multiple connections. This load balancing reduces the chance of dropped calls and improves audio clarity, ensuring professional and clear communication.
Is WAN Bonding cost-effective in the long run?
While the initial investment for WAN Bonding may be higher than Dual-WAN failover, the benefits of increased uptime, improved performance, and uninterrupted connectivity often translate to higher productivity and lower operational costs, making it a smart long-term choice.
Will WAN Bonding work with my existing internet connections?
WAN Bonding is highly adaptable and can work with a variety of internet connections, including DSL, cable, Fibre, satellite (Starlink), or cellular networks (5G/4G). This flexibility allows you to maximize the potential of your current infrastructure.
By integrating WAN Bonding into your network, you ensure that your critical tasks like file downloads and VoIP calls are maintained without interruption, providing a seamless and efficient online experience.
Subject: Advice on Monitoring
I’m writing to ask about the best approach to resolve an issue I’m having.
Background:
We have 3 RUT routers with 4G connections. Each router has 2 devices connected via wifi.
Every 2-hours we generate text files on our server on Azure and the devices download these text files when the next Keepalive is acknowledged.
Our issue is partial downloads of these files which causes issues on site with the device that had a connectivity issue (WiFi or 4G).
Mitigation:
I have written the software that generates the files and I’d like to check if the devices are connected prior to generating these files.
I’ve been looking at the following:
- Azure IOT Hub: This will only tell me if the router is connected?
- Teltonika RMS API: Generate a remote access link for the device and if successful proceed with generation. API Reference | Developers (teltonika-networks.com)
Would you have any suggestions on how best to establish if devices connected to RUT are online?
Additional Information:
The client said the client devices connected to the RUT router are getting low signal, even the clients are just a few meters away from the router. Client is having issues with this, as according to him, he is downloading file from this client devices, and it gets interrupted when the clients disconnects.
Please see quoted texts from the client, the attached image:
I have a RUT241 on a site with 3 devices connected. (A PC and two wifi card readers)
The PC is beside the router and the 2 card readers are about 3 metres away. No obstructions aside from people passing by or standing in between. It is a reception so quite a lot of people.
The environment is very busy with other wireless networks/devices. See Rating of Channels below (Status/Wireless/Channel Analysis). The RUT is on channel 4 at this time with no other access points.
The PC signal (CW-Tracker) is good but I’d expect a stronger signal at the card readers. On another RUT200 on site the signal is higher for these same type card readers even though there is an exterior concrete wall between them.(60 & 64dBm)
The Wi-Fi adapter on the card readers is quite an old model and only supports 2.4GHZ. Not the best. e.g. Will only use WPA2.
Latest firmware on RUT241 for a few weeks.
NOTE: These are the card readers that are most affected by the partial downloads issue we discussed yesterday.
Any feedback welcome, even maybe an upgraded router?
Response:
Hello,
To start with, to remotely check if your “card readers” are online you could indeed use Teltonika RMS API to generate a remote access link to it since this link is actually dependent on both the router’s mobile connectivity and WiFi connectivity between the router and the “card reader”.
Hence, a successfully generated link would indicate that the “card reader” device is reachable remotely.
Alternative options would be:
If your router has a Public IP, you could create a port forwarding rule on your router, which would forward traffic to a particular card reader. That would allow your server to attempt to establish a TCP session with a particular TCP port of the router (which will be forwarded to the card reader) and in this way check if a particular card reader is reachable.
If your card reader could be configured to send any outgoing packets (e.g. ICMP pings to a particular destination, or TCP session to a particular IP:port), you could configure the card reader to contact your server in a certain way. That would allow the server to see which connections from card readers are active, and which are not.
Regarding your second message and WiFi reception differences between locations -> at first, make sure that the WiFi antenna is connected to the RUT2 router, and check how it is positioned.
I.E. if the antenna is pointed vertically, it would only send signal outwards, but NOT upwards, i.e. there will be no signal transmission over the “z axis”.
See image reference, which might help to visualize this:
Hence, it is important to check where your actual card readers are deployed, and where the router is and how its antenna is positioned:
- If the card readers are on the TOP of the reception counter, but the router is below the counter, with a vertical antenna - signal transmission upwards might not be optimal. In such a case, tilting the antenna might lead to better signal reception for card readers.
Regarding the ways to improve signal reception, one of them would be use a wired WiFi antenna, which could be placed in a more advantageous position.
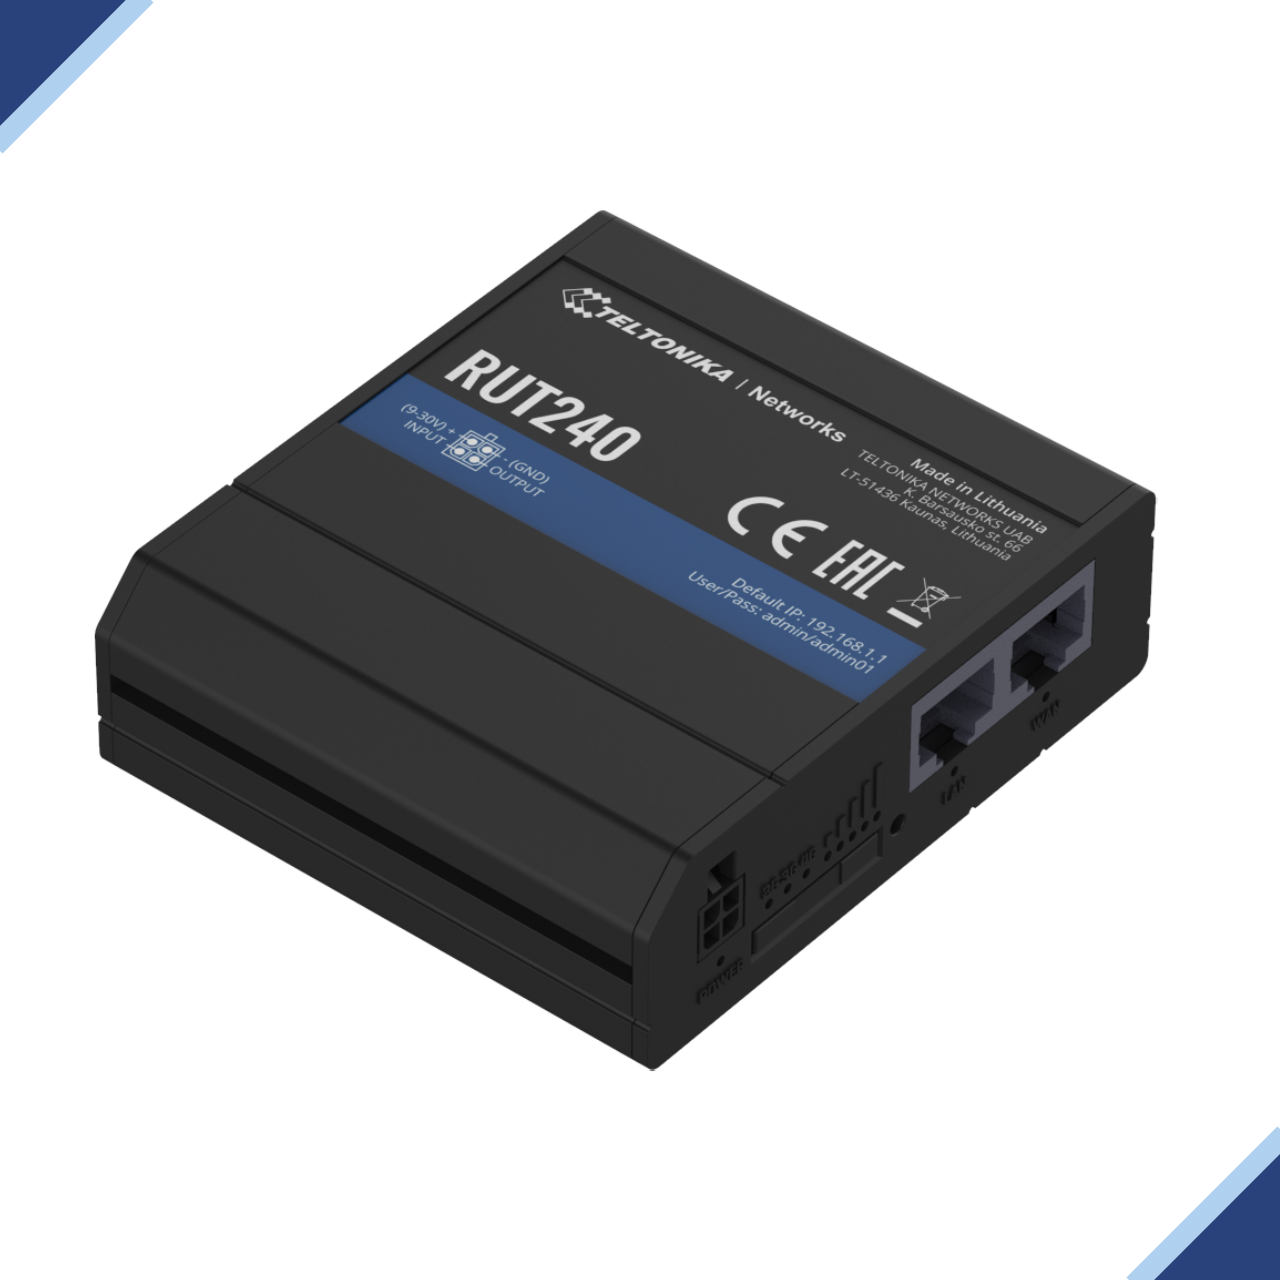
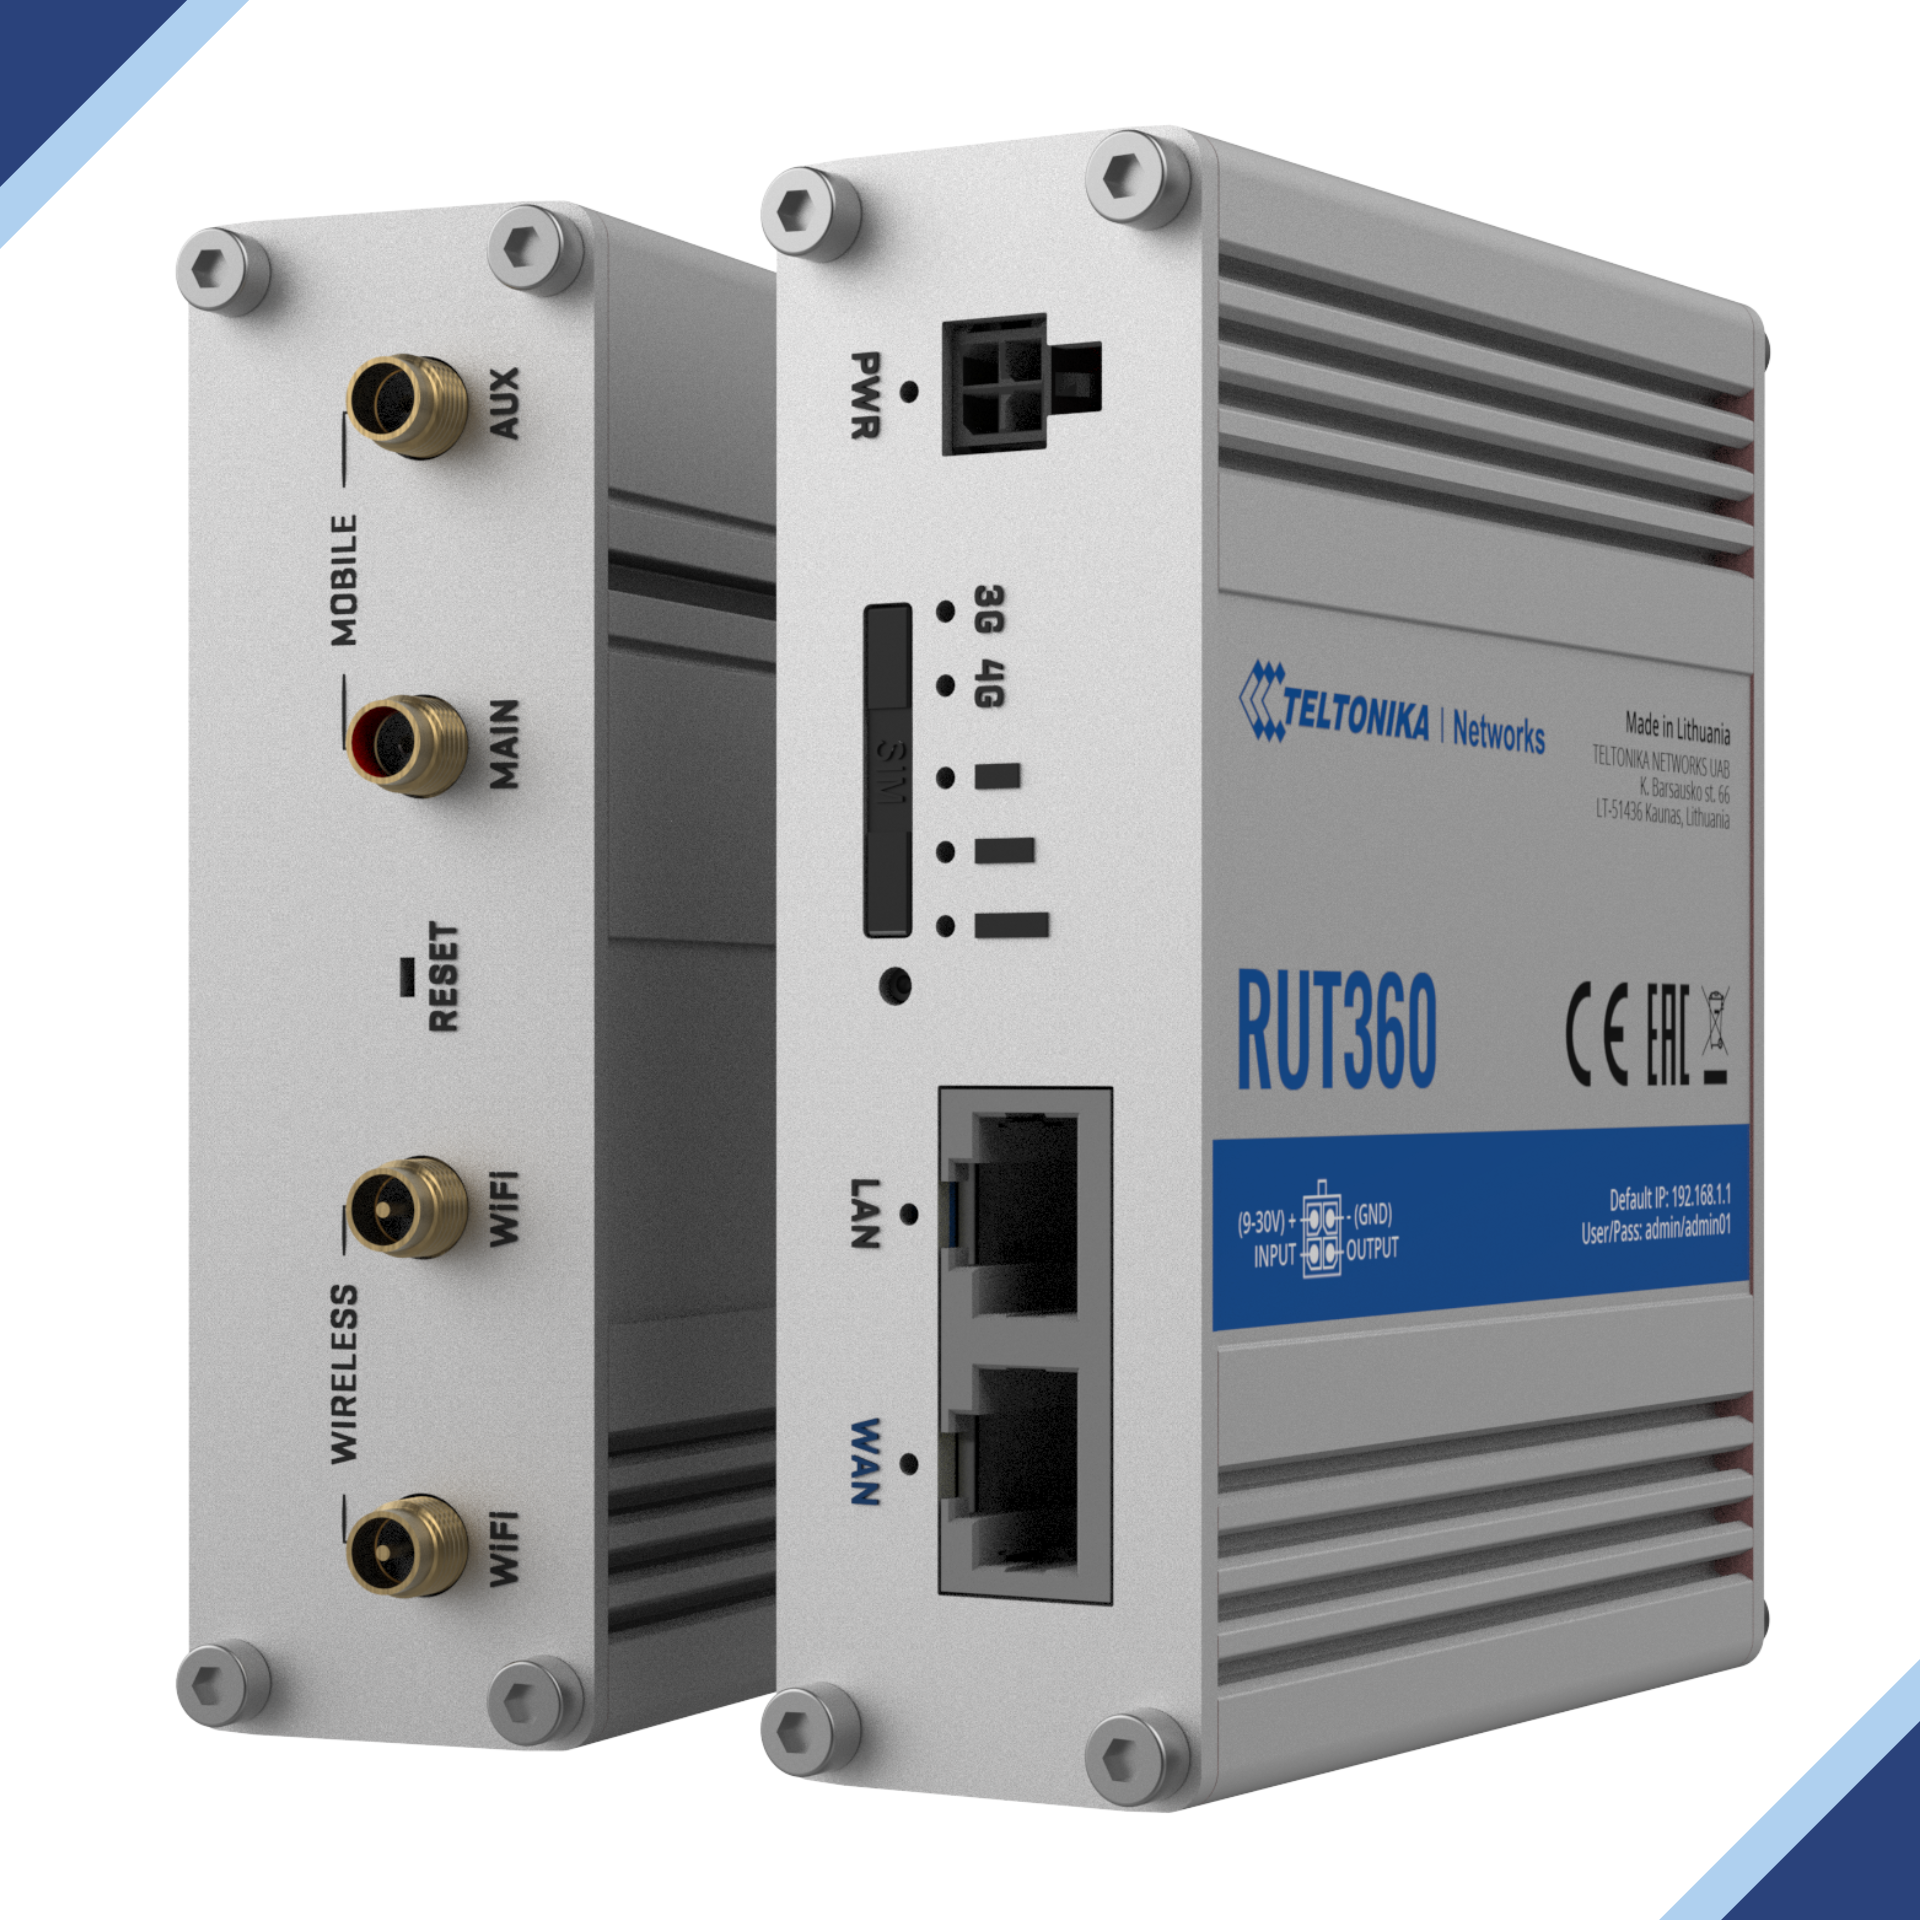
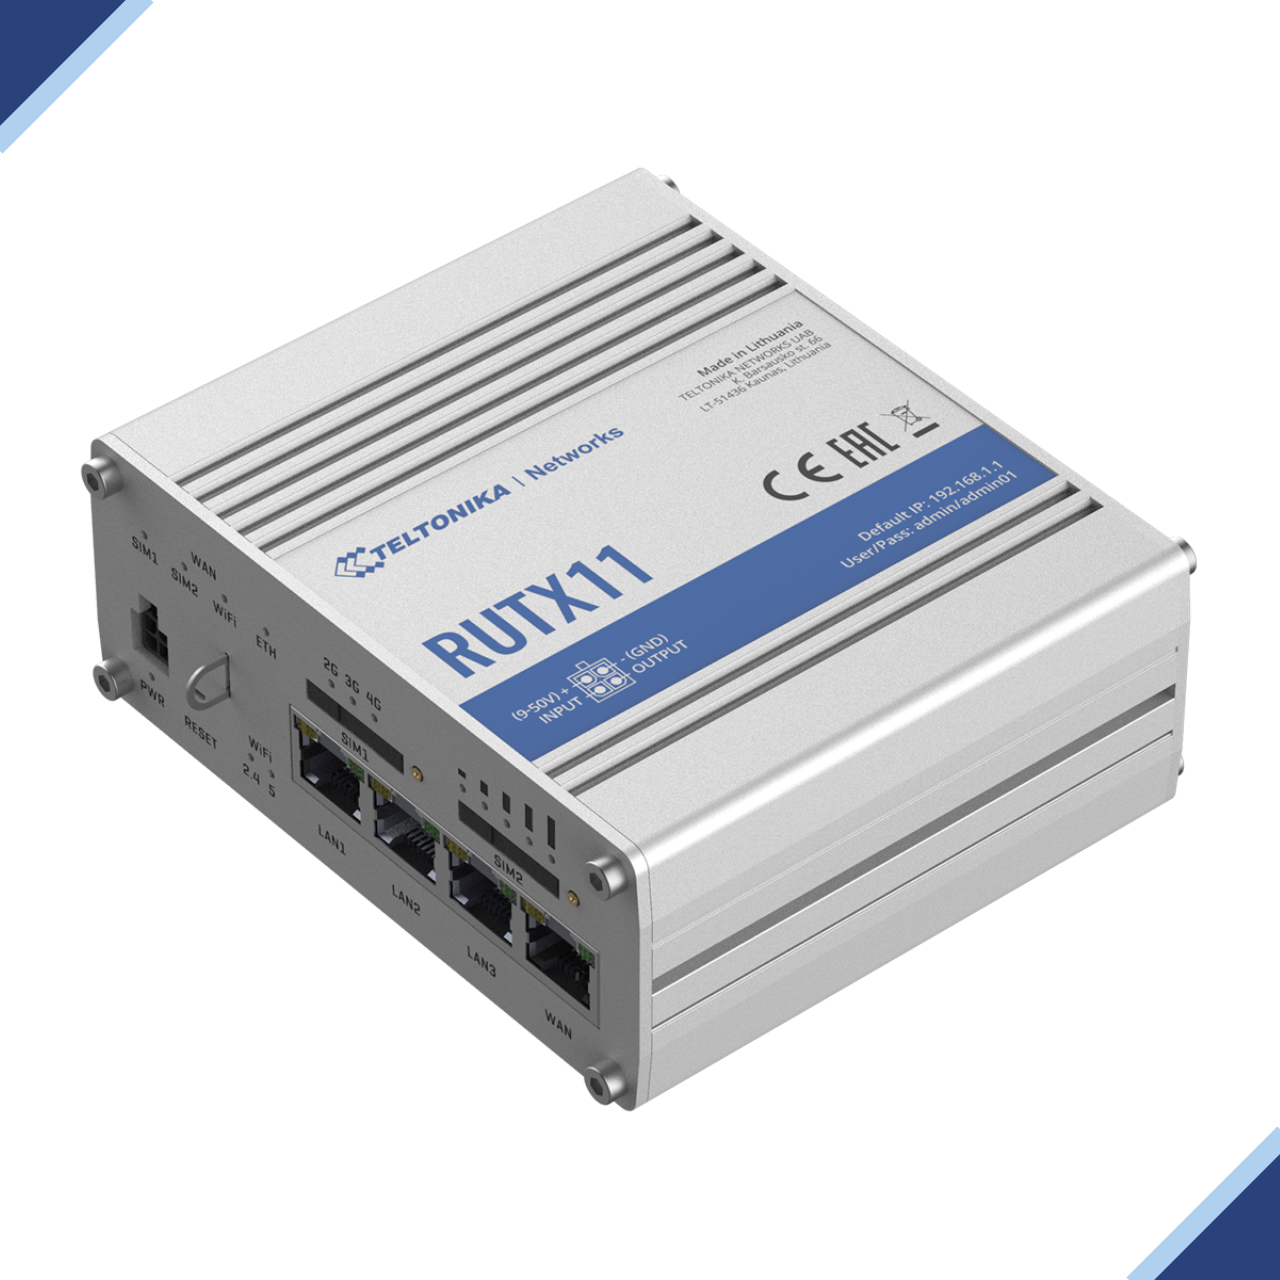
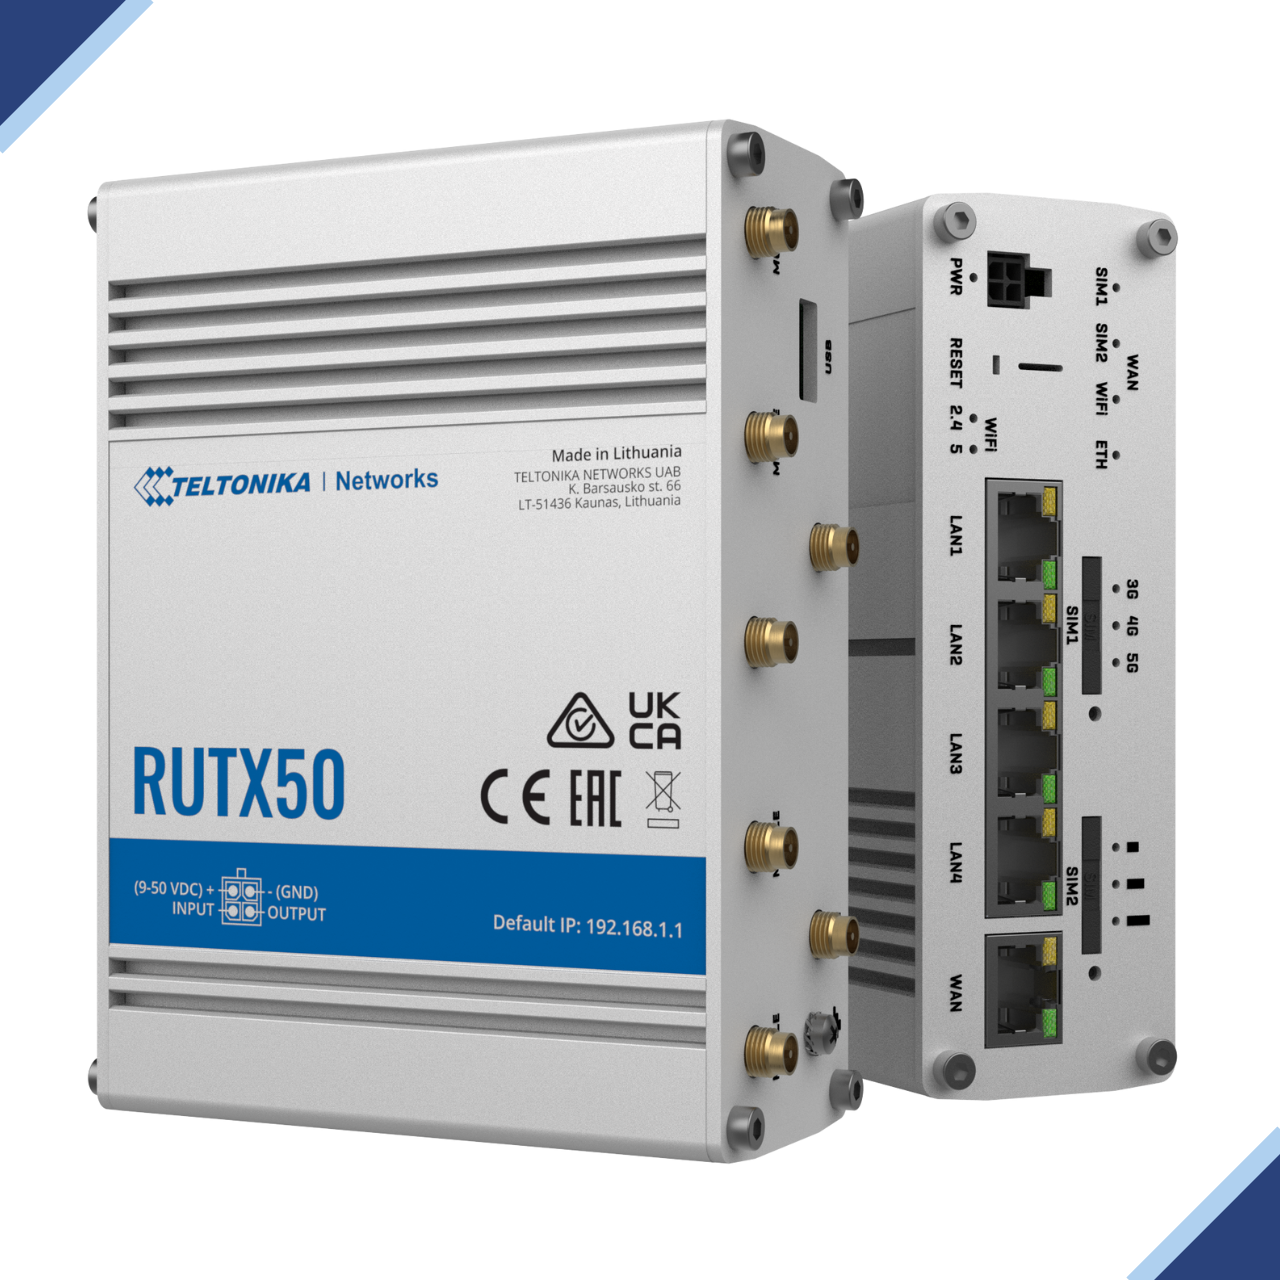
Alternatively, if you have other routers from our portfolio (e.g. RUT9 or RUTX) it might be a good idea to try them out in this solution and check if with these devices your card readers get better reception.
These two devices have 2 WiFi antennas (2x2 MIMO) and therefore provide better WiFi coverage with higher speeds (from to 300 Mbps wifi transfer speeds, compared with 150 with devices, which only have a single WiFi antenna).
